| Monthly Tech-Tip | No tracking! No ads! |
Glazes Are Crazing on This Casting Porcelain
The casting process enables a unique and effective fix
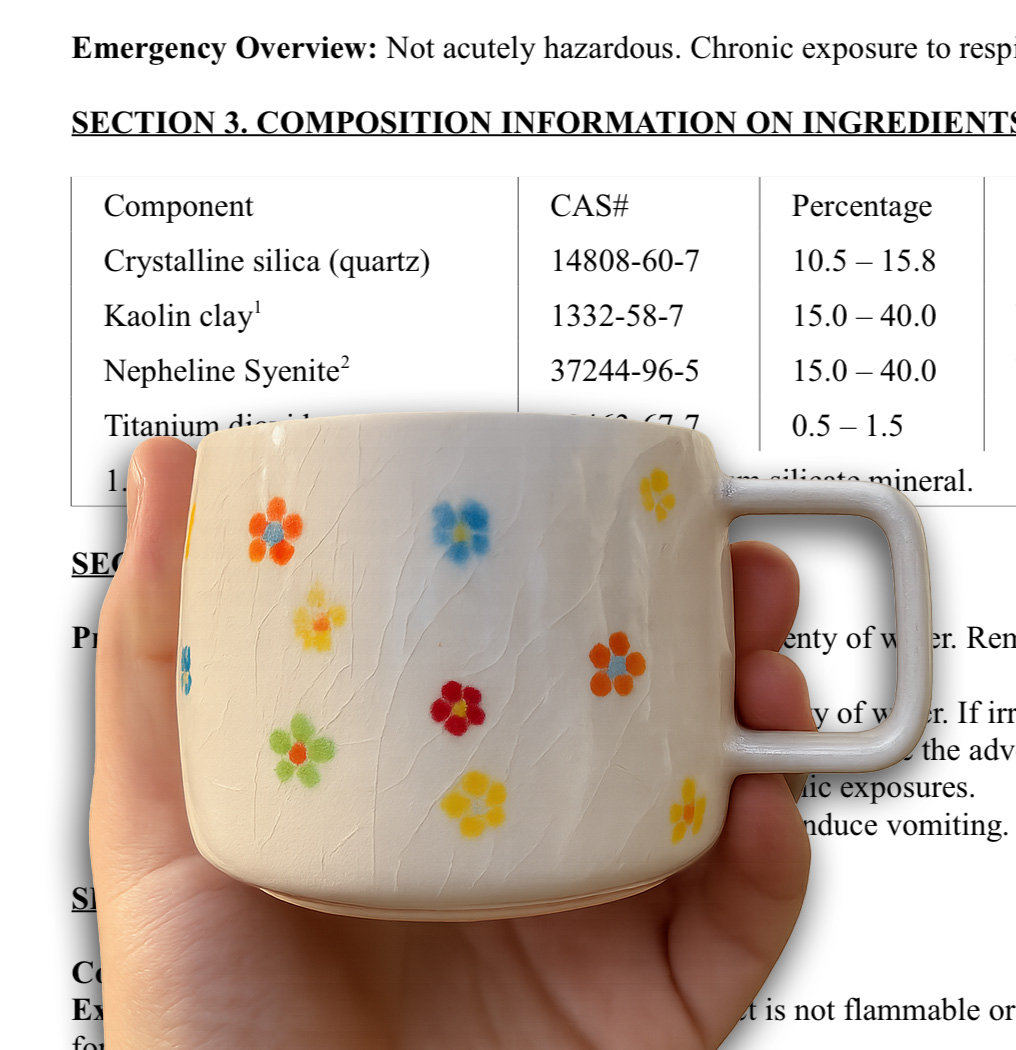
This potter almost has the casting process working, making these beautiful porcelain mugs. They are fired at cone 6 using a transparent glaze over underglaze decoration. But the devil is in the details. Look closer to see it: Crazing. Why? The reason is evident on the SDS for the body. Notice it has 10.5-15.8% crystalline quartz (or silica). This is not enough to prevent crazing in typical glazes.
Almost always, the solution is to find or formulate a clear glaze having a lower thermal expansion (in this case, a lot lower). But with casting bodies, we have another option: Mix our own. Unlike glazes, porcelain recipes are typically just three materials: kaolin, feldspar and silica. The starting percentages are simple for cone 6: 30% feldspar to vitrify. And 25% silica to fit the glaze. That leaves 45% kaolin. It is that easy! Start with the L3778G recipe. Its information page is also a launching pad for dozens of links, enabling you to dig as deep as desired into understanding casting slips (the materials are cheap, so losing a few batches while you learn deflocculation is not a problem). Still think it is too difficult to mix our own? Consider that you need a propeller mixer anyway to prepare and adjust the slip and reprocess scrap. By mixing your own you'll be a more effective, and flexible slip caster.
Generated with a prompt for a crazed glaze on a slip cast mug
Related Pictures
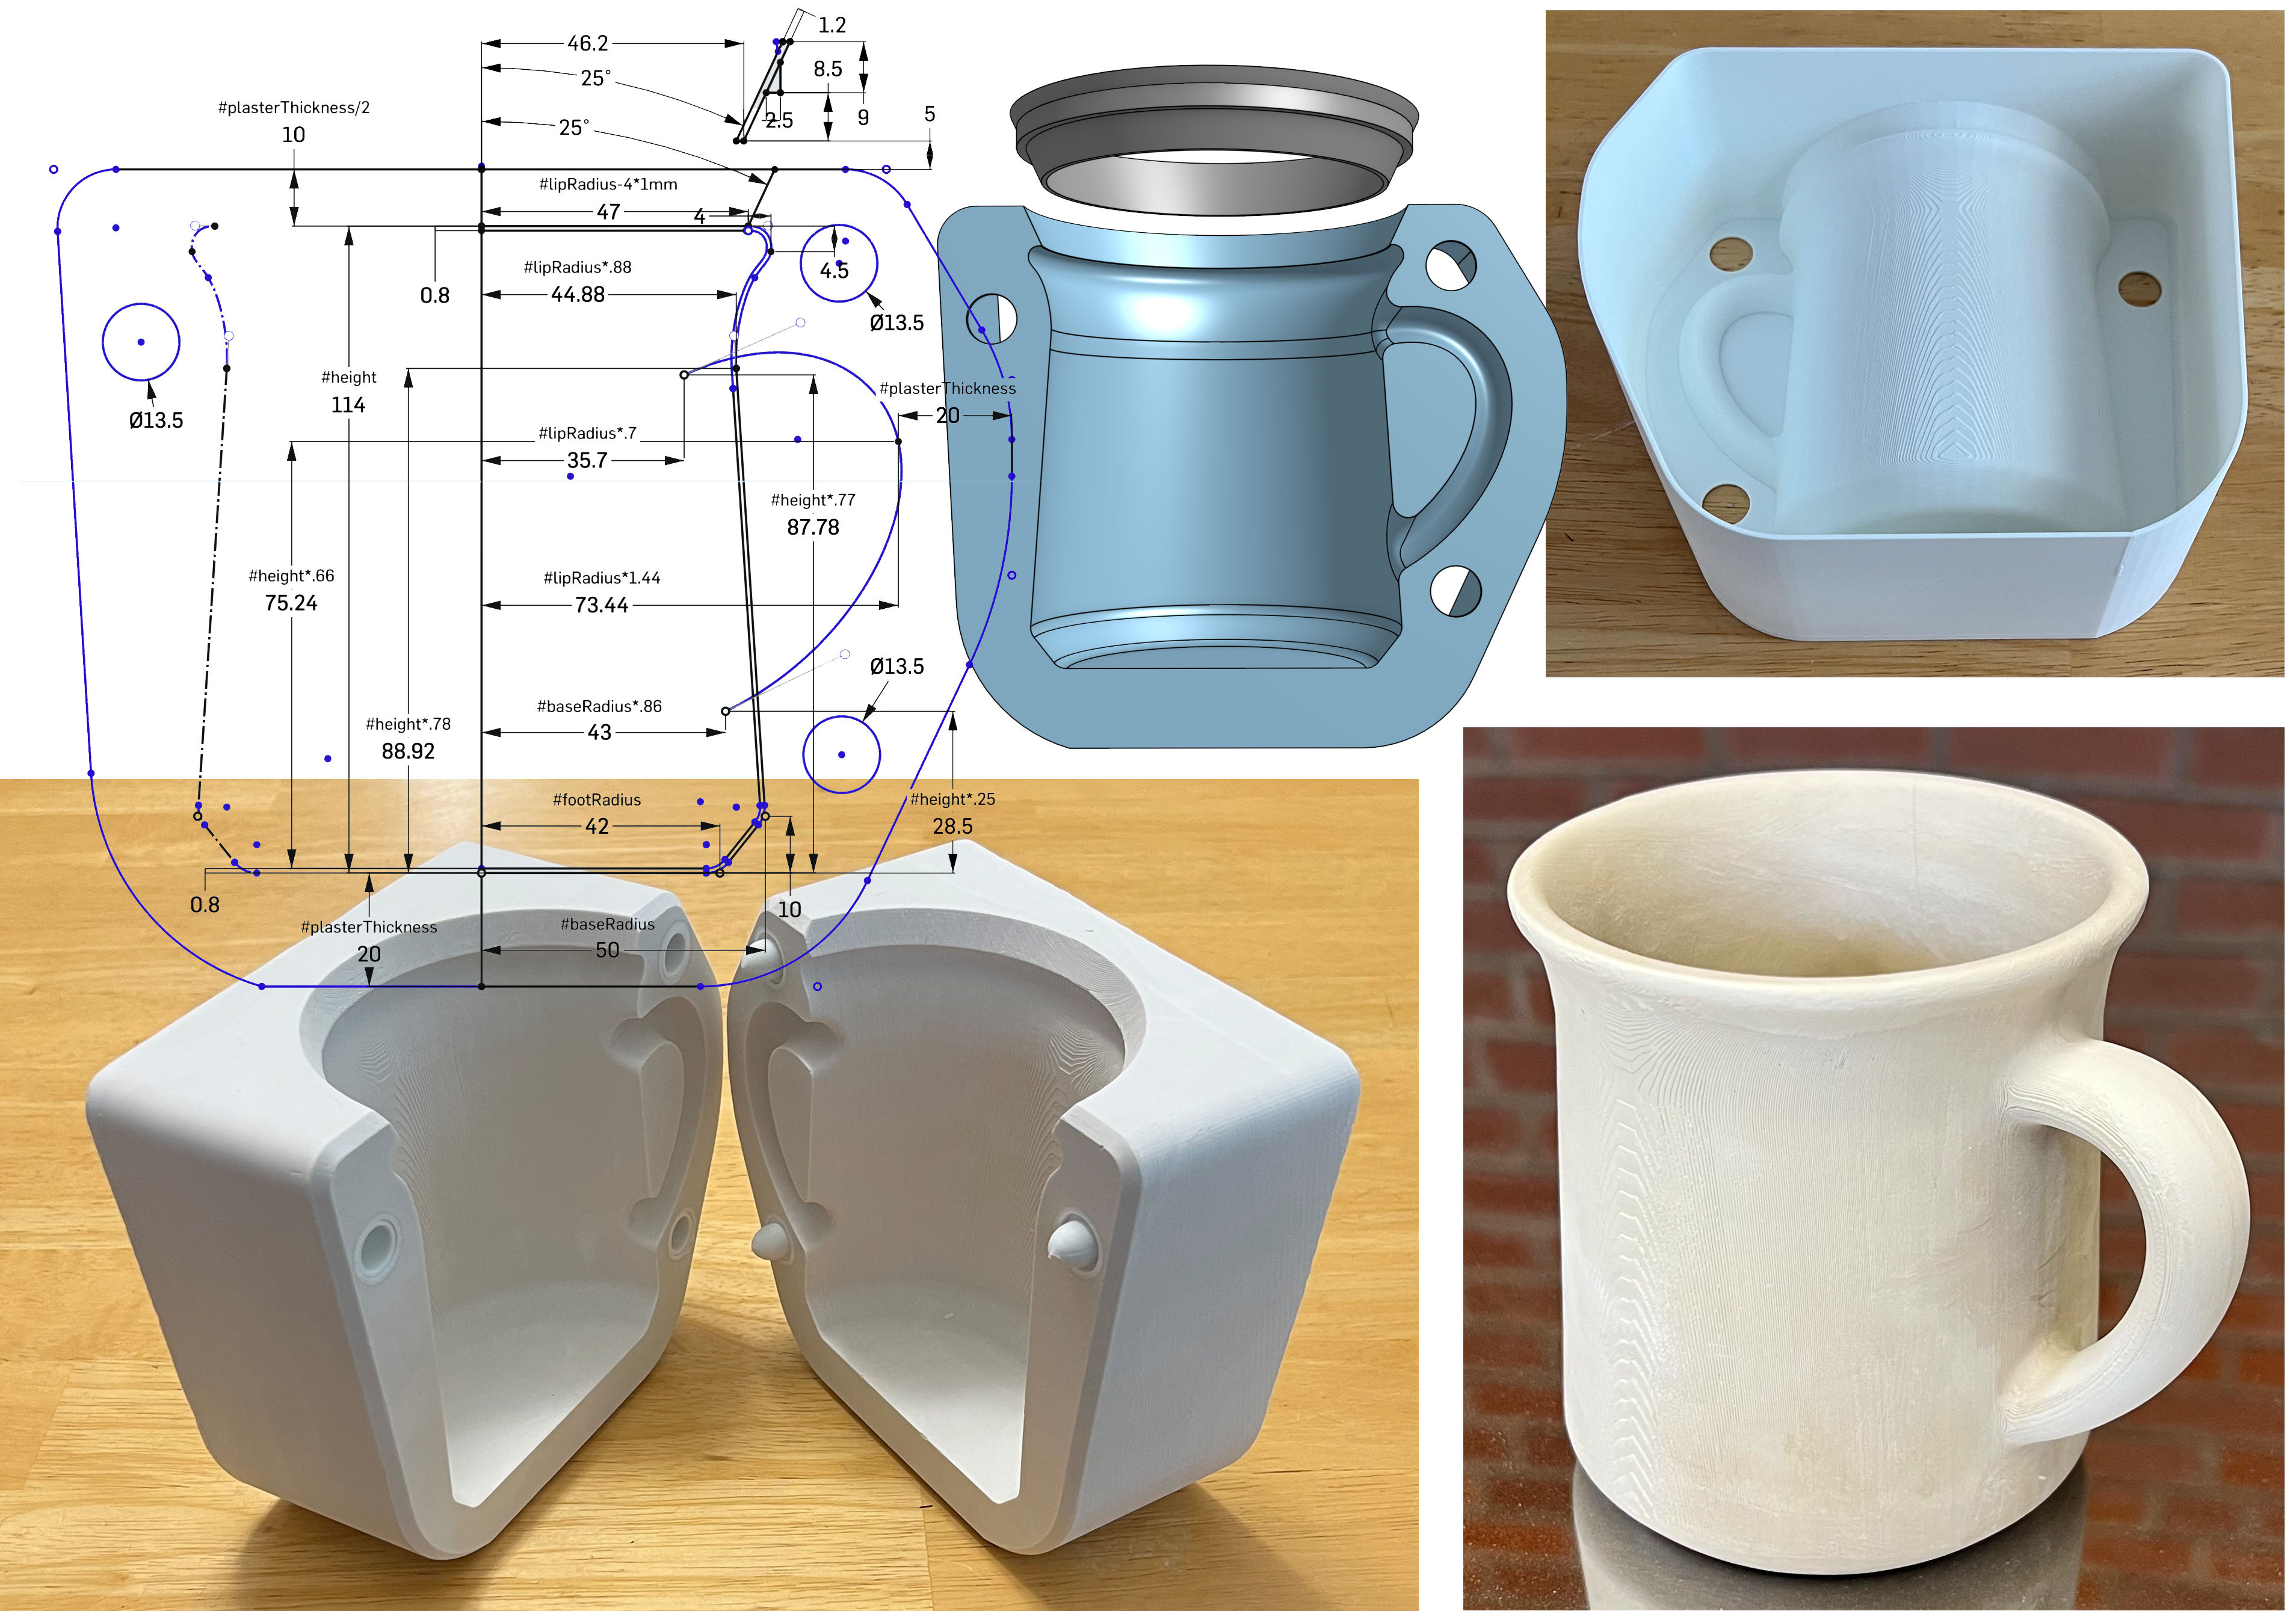
v3 Shelled AI Mug Using OnShape CAD
A great on-ramp to learning slip casting
Available on the Downloads page
This picture has its own page with more detail, click here to see it.
Follow the video, step-by-step, to create this yourself. Don’t expect perfection the first pour, we did this dozens of times to get to this point. You’ll still make a few mistakes before getting it right, that is what DIY is about.
This design differs from the v2 drawing in that the plaster pouring cavity is formed by shelling (hollowing) the back side (top right). And this is designed for removal using a heat gun. This method has several advantages:
-No sketch offset or extrusion was needed to make the outer wall.
-Because the first 3D action is to extrude everything as one solid mass, corners of the outer 3D perimeter can be chamfered (but don’t do it so much that that there is insufficient thickness for the natches).
-The mug's geometry (offset inward by 0.8mm) is revolved, swept and bevelled by cutting into the block. Shelling to the same 0.8mm wall thickness, from the backside of the block, produces the cavity needed (top right).
-The last steps, after shelling, are chamfering the outside inner corner, cutting the holes for the natches and revolving the pouring spout (as a separate body).
-Our v3 natch system continues to work well with this (lower left).
-Printing artifacts are not a problem for prototype molds (visible op right). Production is asking me to enhance these (a freshly cast mug is shown lower right).
-The plaster mold is of stunning quality (the PLA 3D print was softened using a heat gun and carefully removed using needle-nose pliers).
-Slip cast mugs most often have poor-quality and oval lips. This one stays round because of the outward flare and the quality is better because the 3D printed pouring spout also acts as a cutting guide at the pre-removal stage.
-The PLA pouring spout is deep and absorbs no water. Thus, the slip level does not need to be topped up during casting, the slip surface stays flatter (not developing a bowl shape) so pour-out time can be accurately gauged by its slip level.
There are many casting body recipes that would work with this. DIY CAD skills will enable you to follow me into another exciting world: Low-cost 3D printing of the clay itself! Coming soon.
Another compelling reason for DIY casting bodies and glazes

This picture has its own page with more detail, click here to see it.
These are four different cone 6 commercial glazes made by a popular US manufacturer. The body is a cone 6 casting porcelain made by another popular manufacturer. They are all crazing! This is visible because the glaze is transparent, but most often it is much more difficult to see. Guess what many people are doing? Ignoring the problem and selling the ware! Assuming you are not one of them - which company is at fault? Neither. They cannot assure their product fits those of others. Mid-fire porcelains craze glazes if they lack sufficient silica (20% is minimum) or don't vitrify. Unfortunately, the recipe of the porcelain is proprietary. Wait a minute - no, it isn't. These recipes are well-known. You already have a propeller mixer and scale to mix casting slip, why not mix your own porcelain from a recipe (e.g. L3778D or derivative)? Or, why not mix your own transparent brushing glaze or dipping glaze? Start with the G2926B recipe, it has lots of documentation, and the recipe can be adjusted to deal with fit issues on any clay body.
Got a Question?
Buy me a coffee and we can talk 

https://backup.digitalfire.com, All Rights Reserved
Privacy Policy